The Pain Was Worse Than I Expected After Septoplasty
I knew there’d be swelling. I knew my face would feel tender. But what I didn’t expect was the pain right at the tip of my nose and the area just below my nostrils. That part hit hard. It wasn’t just uncomfortable—it was sharp, constant, and made it hard to talk, breathe, or even sleep.
Everyone warns you about sinus pressure and headaches after surgery, but nobody told me how intense the nose tip and upper lip pain would be. And honestly, that’s where I ended up needing relief the most.

Ice Is a Lifesaver — But Not Just Any Ice Pack
I’m not exaggerating when I say that ice saved me. But here’s the thing—regular ice packs were fine for my cheeks and jawline, but they were awkward when it came to the specific pain points I had.
Larger packs wouldn’t sit comfortably under my nose without pressing too hard or sliding around. And when you’re already sore and healing, the last thing you want is to wrestle with something that’s supposed to be helping.
Cold therapy is amazing for sinus pain, but only if you can get it in the right spot without making things worse.
Don’t wait till the pain kicks in — prep your cold relief plan before surgery day. Trust me on this one.
My DIY Ice Pack Trick for Nose Tip Relief
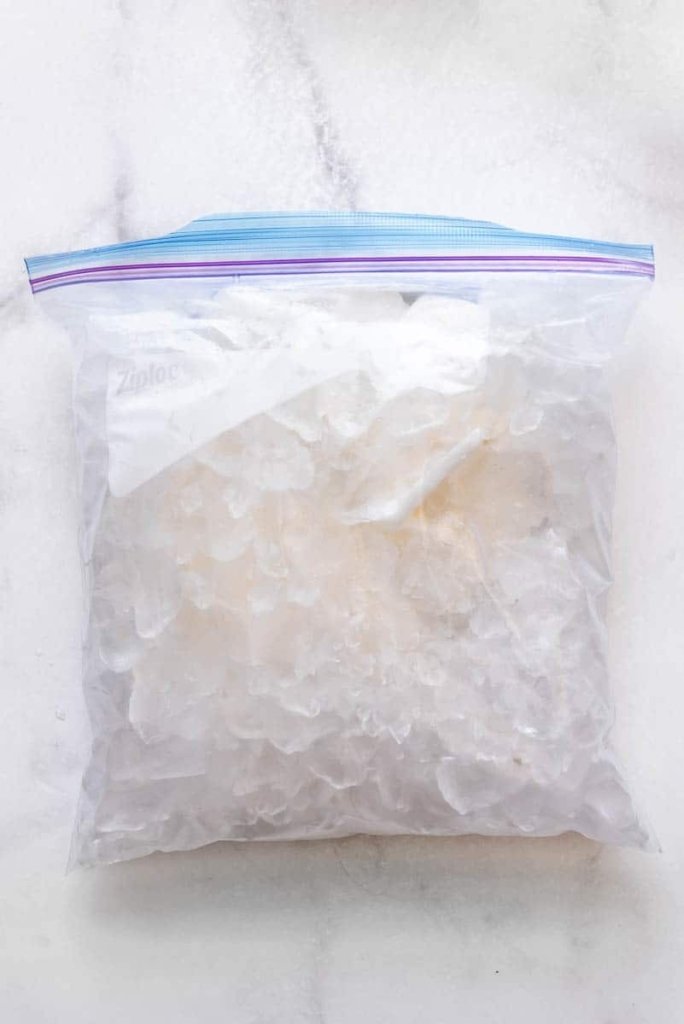
Here’s what ended up working best for me—a homemade mini ice pack. I grabbed one of these Amazon Basics BPA-free quart-size storage bags and put a handful of crushed ice in it. That let me shape it exactly how I needed—small, soft, and moldable.
But the real key? Wrapping the bag in something that wouldn’t scratch or irritate my sensitive skin. Regular paper towels can feel like sandpaper post-surgery, so I went with Sparkle Pick-A-Size paper towels. These things are surprisingly soft and gave just enough cushion between the cold and my skin.
I’d hold this little rolled-up pack gently under my nose while lying down. It didn’t last as long as a traditional cold pack, but the targeted relief made all the difference.
Why I Still Kept Traditional Ice Packs On Hand
Even though my little crushed-ice trick helped with the nose tip pain, I also needed something more durable for the bigger areas like my jaw, forehead, and sinuses. There were moments where my whole face felt like it was pulsing, and that’s when I grabbed a regular-sized ice pack.
These reusable traditional ice bags worked really well. They held the cold longer, didn’t leak, and were easy to press against my face without needing to lie completely still.
🧊 Don’t wait till the swelling hits—grab your ice packs now so you’re ready to tackle the pain head-on.

How Often I Used Ice (And What Actually Helped)
In those first few days after surgery, I rotated between ice packs constantly. I’d use the mini crushed ice pack in the quart-size bag under my nose every couple of hours, especially after cleaning my nose or waking up from a nap. That’s when the pain would spike.
Then I’d switch to the traditional reusable ice bag for a longer stretch of relief on my cheeks and forehead. I’d set a timer and keep it on for about 15–20 minutes, take a break, and repeat if needed.
The goal was never letting the pain get ahead of me. Staying on top of it with rotating cold therapy made those early recovery days a lot more manageable.

Paper Towels That Actually Feel Good on Sore Skin
I never realized how important the texture of a paper towel was until I had raw, sensitive skin on and around my nose. Regular ones were too stiff or left lint behind, which is the last thing you want near surgical incisions.
That’s why I’m glad I had Sparkle’s softer, Pick-A-Size paper towels on hand. They gave just enough buffer between the ice and my nose without being rough or irritating. I even used them to gently dab around my nostrils if things got a little leaky—no harsh rubbing needed.
🌟 Soft, lint-free paper towels are a small but essential comfort tool after septoplasty. Stock up before surgery day—you’ll thank yourself.
Why This Setup Worked Better Than Fancy Gel Packs
I’ve tried those fancier gel packs before—the ones you freeze and reuse. They’re nice, but they don’t mold to the tiny spots under your nose the way a soft, crushed ice setup can. Even the smallest gel packs tend to be a bit bulky for that precise pain area.
My DIY baggie with ice and soft towel combo was quick, easy, and disposable if it got messy. It gave me better control and didn’t press on my healing nose like heavier packs might.
Still, for longer sessions or when I didn’t want to get up and refill ice, the larger reusable pack was a lifesaver.
Make This Part of Your Septoplasty Recovery Kit
If you’re prepping for surgery or you’re in those first few painful days of recovery—don’t underestimate how important having the right cold therapy options is. I would 100% include these three items in a basic post-surgery relief kit:
- Amazon Basics Quart Storage Bags – for your mini, moldable ice packs
- Sparkle Soft Paper Towels – gentle, absorbent, and kind to sore skin
- Reusable Traditional Ice Packs – durable and perfect for larger facial areas
✅ Don’t go through septoplasty recovery unprepared. Grab these must-haves now and make those healing days a whole lot easier.

What Doctors Don’t Always Tell You About Pain Management
My surgeon did a great job on the procedure itself, but when it came to post-op care instructions, ice was only vaguely mentioned. I wasn’t told how often to ice, where to ice, or even how to make an ice pack that fits the sensitive nose area. I had to figure that all out the hard way.
That’s why I’m sharing this—so you don’t have to guess. Cooling under the nose helped me survive some of the worst pain flare-ups. And the tools I used weren’t expensive or complicated.
If I could go back in time, I would’ve prepped a stash of baggies, soft paper towels, and at least one solid reusable ice pack in advance. It’s such a small thing—but it made a big difference.
You Can Also Try This Nose Trimming Tip Before Surgery
One thing I wish I had known before surgery? Trim your nose hairs! I didn’t, and dry blood and mucus kept clinging to the nose hair, making things even more uncomfortable. It’s a step nobody told me to take, but it’s totally worth doing.
If you want to see what I used after surgery to help manage all the gunk and discomfort, check out The Best Nose Hair Trimmer I Wish I Used Before My Sinus Surgery — that article covers everything I learned the hard way, and it’ll save you some major frustration.

Don’t Forget These Other Helpful Recovery Tips
While ice was a huge part of my recovery, it wasn’t the only thing that helped. I also used a humidifier to keep my nasal passages from drying out—something else I wish more people knew about.
If you’re just getting started with your recovery, you might also want to check out:
These small questions made a big difference in my own journey.

My Final Advice: Prep Ahead and You’ll Thank Yourself Later
Look—recovery from sinus surgery isn’t fun. But a little preparation goes a long way. The right ice setup helped me control swelling, manage pain, and feel like I had a little more control over what was happening to my face.
If you’re about to go through this, please take my advice and stock up on the essentials:
❄️ These made recovery easier—and I can’t recommend them enough. Get them ahead of time and save yourself a lot of discomfort later.
As an Amazon Associate we earn from qualifying purchases through some links in our articles.